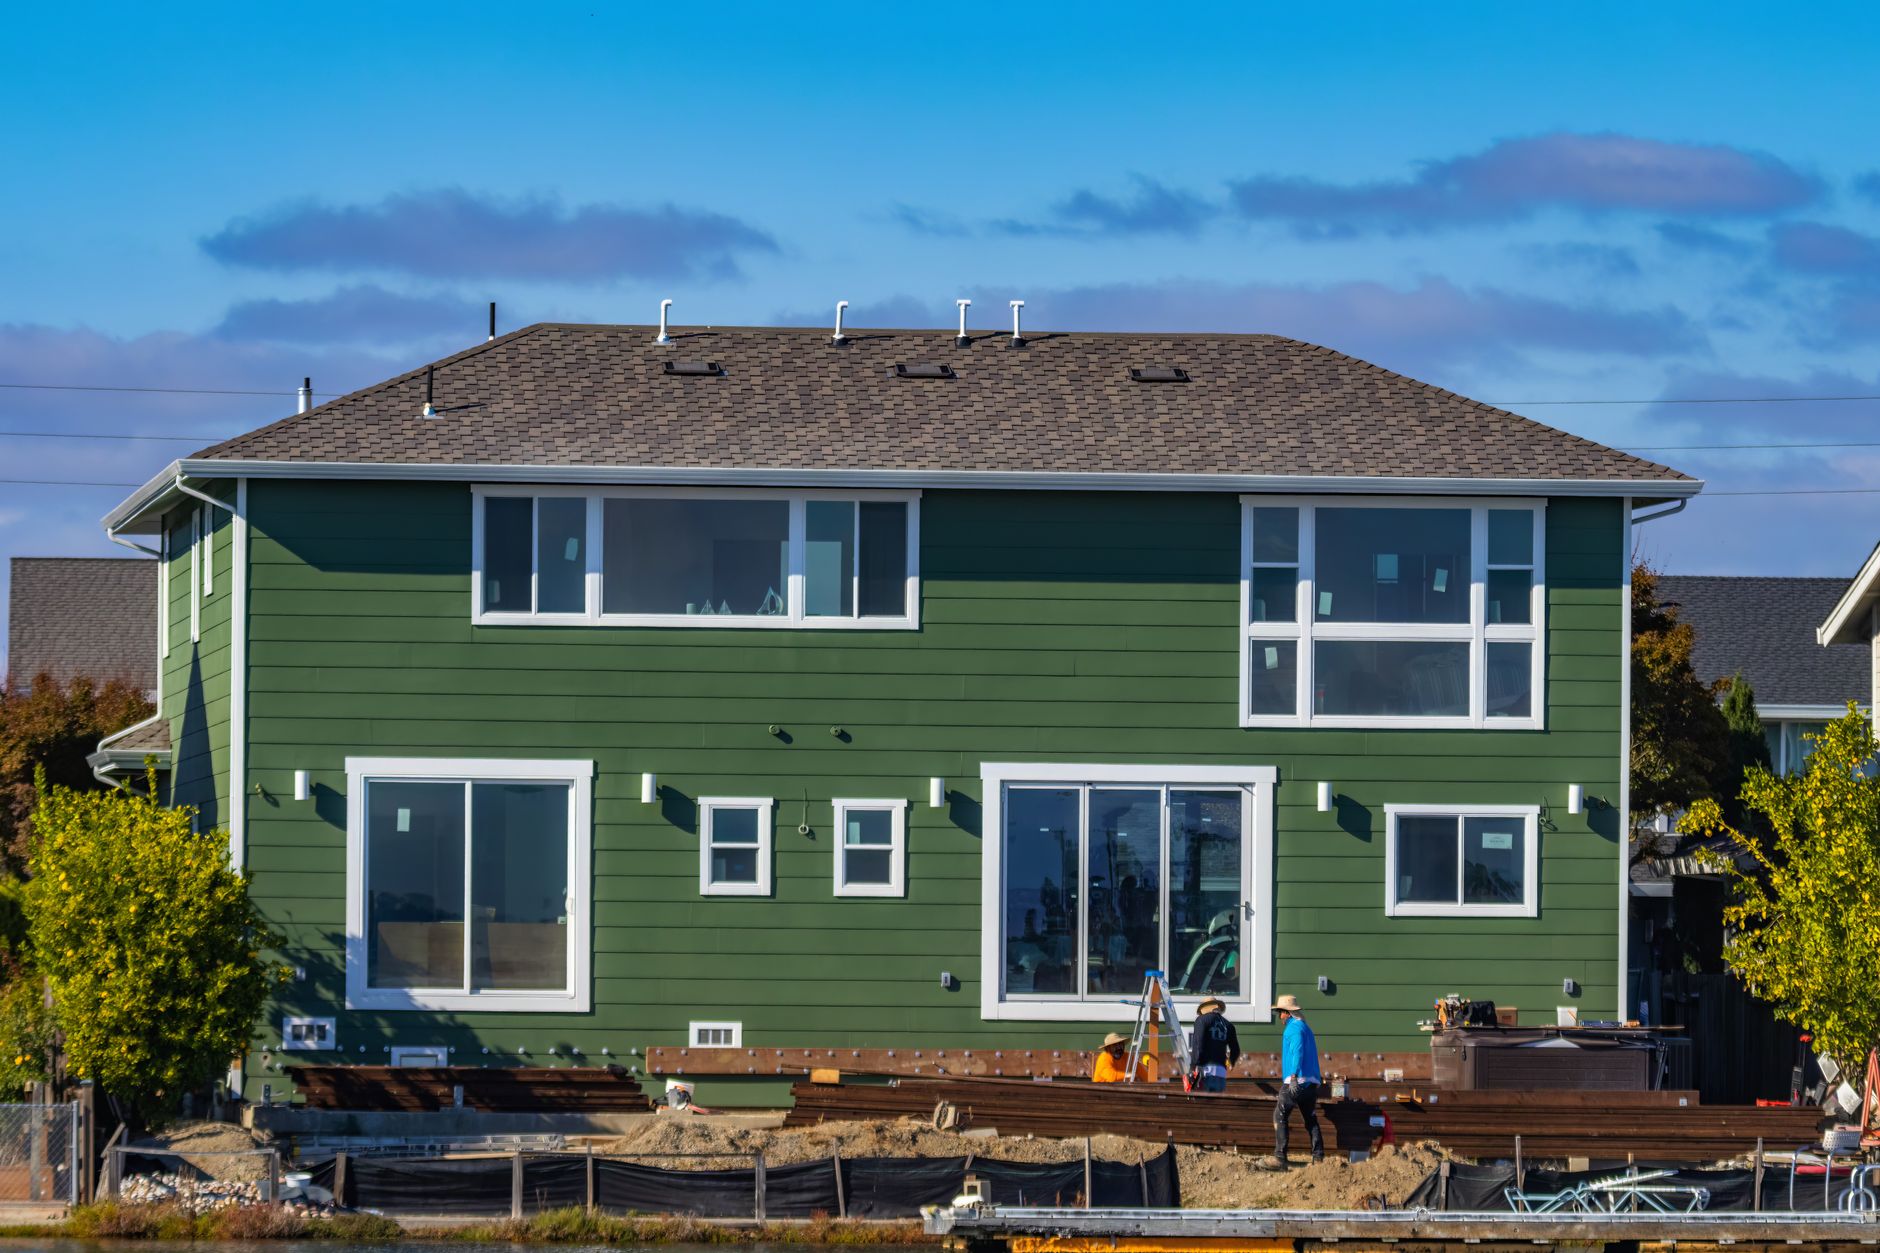
Choosing the Right Siding Material
Comparing Popular Siding Options
Selecting the appropriate siding material is foundational to achieving a weatherproof and attractive exterior. Vinyl siding remains a popular choice thanks to its affordability, low maintenance, and wide range of colors. Fiber cement siding offers superior durability and fire resistance, making it a favorite for homeowners seeking long-term resilience. Wood siding provides natural beauty and excellent insulation but requires regular upkeep to prevent rot and insect damage. Metal siding, often aluminum or steel, is known for its strength and modern aesthetic, while stucco offers a seamless, textured finish ideal for dry climates.
Factors to Consider: Climate, Budget, and Maintenance
When choosing siding, consider your local climate first. For example, fiber cement and metal perform well in harsh weather conditions like heavy rain or snow, while wood is better suited for milder environments. Budget constraints will also influence your choice; vinyl is generally the most cost-effective, whereas fiber cement and wood tend to be pricier. Maintenance requirements are crucial, too—some materials demand frequent painting or sealing, while others, like vinyl, need minimal intervention. Balancing these factors ensures you pick a siding that fits your lifestyle and protects your home effectively.
Preparing Your Home Exterior for Siding
Inspecting and Repairing the Wall Surface
Before installing siding, thoroughly inspect the existing wall surface for damage such as rot, mold, or structural issues. Any compromised areas should be repaired to provide a stable foundation. This might involve replacing damaged sheathing, addressing moisture problems, or reinforcing framing. A clean, sound surface ensures the siding adheres correctly and functions as intended, preventing future issues like warping or water infiltration.
Installing Weather-Resistant Barriers
Weather-resistant barriers (WRBs) are essential for keeping moisture out while allowing the wall to breathe. Common options include house wraps or building paper, which are installed over the sheathing before siding goes up. Proper installation of WRBs involves overlapping seams and sealing edges to create a continuous moisture barrier. This step dramatically improves the home’s resistance to wind-driven rain and helps prevent costly water damage inside the walls.
Essential Tools and Safety Precautions
Must-Have Tools for a Smooth Installation
Successful siding installation requires the right tools. Key items include a circular saw or handsaw for cutting panels, a nail gun or hammer with corrosion-resistant nails, a tape measure for precise dimensions, a level to ensure even placement, chalk line for straight guidelines, and a utility knife for trimming. Additionally, ladders or scaffolding may be needed for working at heights. Having all tools ready before starting can streamline the process and reduce errors.
Safety Tips to Prevent Injuries
Working with siding materials can pose hazards, so safety is paramount. Always wear protective gloves, safety glasses, and a dust mask, especially when cutting fiber cement or wood. Secure ladders on stable ground and avoid overreaching to minimize fall risks. Keep your work area tidy to prevent tripping, and handle tools with care. Following these precautions ensures a safer project and helps maintain focus on quality installation.
Step-by-Step Siding Installation Process
Measuring and Cutting Siding Panels
Start by accurately measuring the wall height and length to determine panel sizes. Always add extra length for overlaps and trimming. Use a straight edge and sharp saw blade to make clean cuts, ensuring panels fit snugly without forcing. Proper measurement and cutting reduce gaps that could compromise weatherproofing and enhance the overall appearance of the siding.
Proper Nailing Techniques and Fastening Tips
When fastening siding, use corrosion-resistant nails placed in the center of the nailing slots to allow for material expansion. Avoid overdriving nails, which can warp panels or restrict movement, leading to buckling. Leave a small gap at the ends of panels to accommodate expansion and contraction caused by temperature changes. Securely fastened siding will withstand wind and weather without loosening over time.
Sealing and Caulking to Prevent Water Damage
After installation, seal all joints, corners, and around windows or doors with high-quality exterior caulk. This step is crucial to prevent water infiltration that can lead to mold or structural damage. Use a smooth bead of caulk and tool it properly to ensure a neat, continuous seal. Proper sealing complements the siding’s weather resistance and extends its lifespan.
Common Installation Mistakes to Avoid
Overlooking Expansion Gaps
One of the most frequent errors is neglecting to leave expansion gaps between siding panels and trim. Without these gaps, siding can buckle or crack as it expands and contracts with temperature fluctuations. Always follow manufacturer guidelines for the appropriate spacing to maintain siding integrity and appearance.
Ignoring Proper Flashing Installation
Flashing directs water away from vulnerable areas such as windows, doors, and joints. Skipping or improperly installing flashing can allow water to seep behind the siding, causing rot and mold. Ensure flashing is installed correctly beneath the siding and overlaps the weather-resistant barrier for effective drainage.
Maintaining Your Siding for Long-Term Durability
Regular Cleaning and Inspection
Keep siding looking and performing its best by cleaning it at least once a year with a garden hose or pressure washer on a low setting. Remove dirt, mold, and mildew to prevent deterioration. Conduct routine inspections to spot cracks, loose panels, or damaged caulk before they worsen.
Timely Repairs and Replacements
Address any issues promptly. Replace cracked or warped panels to maintain the siding’s protective barrier. Re-caulking around windows and doors as needed prevents water infiltration. Timely maintenance preserves your home’s exterior and avoids costly repairs down the line.
Conclusion
Installing siding is a critical step in creating a durable, weatherproof home exterior. By carefully choosing materials suited to your climate and budget, preparing your home properly, using the right tools, and following precise installation techniques, you can ensure lasting protection and curb appeal. Avoiding common pitfalls and committing to regular maintenance will help your siding perform well for years, safeguarding your home from the elements.
FAQ
How long does siding installation usually take?
The duration depends on the siding type and house size, but most installations take between a few days to two weeks.
Can I install siding myself or should I hire a professional?
While DIY siding installation is possible for experienced homeowners, hiring a professional ensures proper installation and long-term weatherproofing.
What is the best time of year to install siding?
Spring and fall are ideal due to moderate temperatures and lower humidity, which help materials settle properly.